
181 Views· 20 May 2024
나무를 접합하는 10가지 방법/초심자용 10 Ways to Joint Wood for Beginners
10 Ways to Joint Wood for Beginners
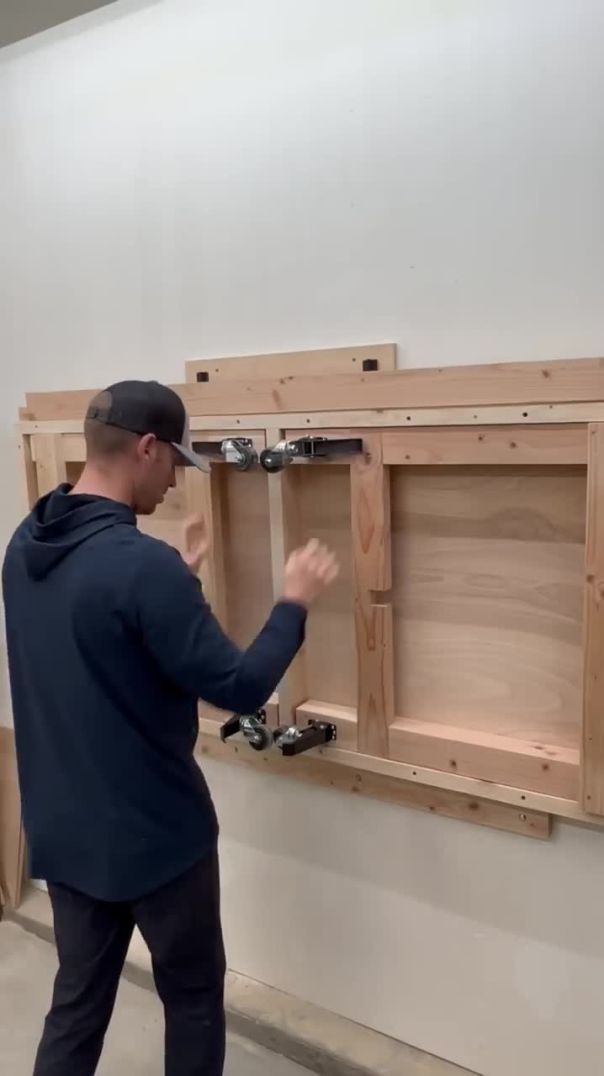
Joining wood is a fundamental skill in woodworking, and there are many techniques available for creating strong, durable joints. Whether you're a novice woodworker or looking to expand your knowledge, here are ten beginner-friendly ways to join wood:
### 1. Butt Joint
**Description:** The simplest and most straightforward joint where the ends of two pieces of wood are butted together.
**Steps:**
1. Align the two pieces of wood.
2. Apply wood glue to the touching surfaces.
3. Clamp the pieces together until the glue dries.
4. Reinforce with nails or screws for added strength.
### 2. Miter Joint
**Description:** A joint where the ends of two pieces of wood are cut at an angle (usually 45 degrees) and joined to form a corner.
**Steps:**
1. Cut the ends of the wood at a 45-degree angle using a miter saw.
2. Apply wood glue to the angled edges.
3. Clamp the pieces together and allow the glue to dry.
4. Reinforce with brad nails or screws if needed.
### 3. Dowel Joint
**Description:** A joint using wooden dowels to align and strengthen the connection between two pieces of wood.
**Steps:**
1. Drill holes into both pieces of wood at the joint location.
2. Insert dowels into the holes with wood glue.
3. Align and clamp the pieces together until the glue dries.
### 4. Pocket Hole Joint
**Description:** A joint created using a pocket hole jig to drill angled holes into one piece of wood and screws to join it to another piece.
**Steps:**
1. Use a pocket hole jig to drill angled holes in one piece of wood.
2. Align the pieces and drive screws through the pocket holes into the adjoining piece.
3. Apply wood glue for additional strength.
### 5. Biscuit Joint
**Description:** A joint using small, football-shaped pieces of compressed wood (biscuits) inserted into slots cut in the wood pieces.
**Steps:**
1. Use a biscuit joiner to cut matching slots in the wood pieces.
2. Apply glue to the slots and insert the biscuits.
3. Align the pieces and clamp them until the glue dries.
### 6. Mortise and Tenon Joint
**Description:** A strong, traditional joint where one piece of wood has a protruding tenon that fits into a corresponding mortise hole in the other piece.
**Steps:**
1. Cut a tenon on the end of one piece of wood using a saw or router.
2. Cut a matching mortise hole in the other piece.
3. Apply glue to the tenon and mortise, fit them together, and clamp until dry.
### 7. Lap Joint
**Description:** A joint where two pieces of wood overlap and are glued or nailed together, often used in framing.
**Steps:**
1. Cut a notch halfway through the thickness of both pieces of wood where they will overlap.
2. Apply glue to the notches and fit them together.
3. Clamp the pieces and allow the glue to dry. Reinforce with nails or screws if needed.
### 8. Tongue and Groove Joint
**Description:** A joint where one piece of wood has a tongue that fits into a corresponding groove on the other piece, commonly used for flooring and paneling.
**Steps:**
1. Cut a groove along the edge of one piece of wood using a router or table saw.
2. Cut a corresponding tongue on the edge of the other piece.
3. Apply glue to the tongue and groove, fit them together, and clamp until dry.
### 9. Box Joint
**Description:** A series of interlocking finger-like projections cut into the ends of two pieces of wood, creating a strong corner joint.
**Steps:**
1. Cut evenly spaced fingers into the ends of both pieces using a table saw or jig.
2. Apply glue to the fingers and fit the pieces together.
3. Clamp the joint and allow the glue to dry.
### 10. Half-Lap Joint
**Description:** A joint where half the thickness of each piece of wood is removed so they overlap flush, often used in framing and construction.
**Steps:**
1. Cut away half the thickness of both pieces of wood at the joint location.
2. Apply glue to the overlapping sections.
3. Fit the pieces together, clamp, and allow the glue to dry. Reinforce with nails or screws if needed.
Each of these wood joinery techniques has its own advantages and applications, making them essential for any woodworking project. By mastering these beginner-friendly methods, you can ensure your projects are sturdy, well-constructed, and visually appealing. Happy woodworking!
1. 못 & 목공본드
2. 목공본드
3. 도웰 포인트 & 목심
4. 도웰 포인트가 없을 때
5. 피스 & 플러그
6. 포켓 홀 지그
7. 포켓 홀 지그가 없을 때
8. 목심
9. 스플라인
10. 스플라인 2


10 Ways To Fight 2 Billion Tons Of Trash | Business Insider Marathon | Business Insider


K-Pop, Cutting-Edge Tech and Other Ways Asia Is Shaping the World | Neeraj Aggarwal | TED


10 Ways To Spot & Deal With A NARCISSIST | Dr. Ramani Durvasula & Lewis Howes


Up next
10 Ways To Fight 2 Billion Tons Of Trash | Business Insider Marathon | Business Insider
K-Pop, Cutting-Edge Tech and Other Ways Asia Is Shaping the World | Neeraj Aggarwal | TED
10 Ways To Spot & Deal With A NARCISSIST | Dr. Ramani Durvasula & Lewis Howes
0 Comments