
331 Views· 29 May 2024
Making a Walnut Live Edge Slab Table / Woodworking
Creating a walnut live edge slab table is a rewarding woodworking project that combines the natural beauty of the wood with skilled craftsmanship. Here’s a detailed step-by-step guide on how to make a live edge slab table:
### Materials Needed:
- Walnut live edge slab
- Epoxy resin (if filling cracks or stabilizing wood)
- Sandpaper (various grits: 80, 120, 220, 320, 400)
- Finish (oil, varnish, or polyurethane)
- Wood glue
- Wood clamps
- Table legs or a custom base
- Screws or bolts (for attaching legs)
- Safety gear (gloves, safety glasses, dust mask)
### Tools Required:
- Circular saw or track saw (for trimming edges)
- Jointer or hand planer (for flattening)
- Random orbital sander
- Chisels
- Router (optional, for flattening jigs or mortises)
- Drill and bits
- Measuring tape and straight edge
- Clamps
### Step-by-Step Process:
#### 1. **Select and Prepare the Slab:**
- **Choose a Slab:** Select a walnut slab with a beautiful grain pattern and minimal defects. Ensure it's dry and properly cured.
- **Inspect and Clean:** Remove any bark, dirt, or loose debris from the slab. Use a wire brush if necessary.
#### 2. **Flatten the Slab:**
- **Flattening:** If the slab is not already flat, use a jointer, hand planer, or a router sled to flatten both sides. This step is crucial for ensuring a stable and even table surface.
#### 3. **Trim the Ends:**
- **Measure and Mark:** Decide on the final dimensions of your table and mark the ends for trimming.
- **Cut:** Use a circular saw or track saw to make clean, straight cuts on both ends.
#### 4. **Stabilize and Fill Cracks (if needed):**
- **Fill Cracks:** If the slab has cracks or voids, use epoxy resin to fill them. Mix the resin according to the manufacturer's instructions and pour it into the cracks. Allow it to cure fully.
- **Stabilize:** For large cracks or splits, consider using bow ties (butterfly joints) to stabilize them. Cut the bow ties from contrasting wood and inlay them across the cracks.
#### 5. **Sand the Slab:**
- **Sanding Progression:** Start sanding with a coarse grit (80) to remove rough spots and even out the surface. Progress through finer grits (120, 220, 320, 400) to achieve a smooth finish.
- **Edges and Live Edge:** Sand the live edges carefully to maintain their natural look while smoothing out any rough areas.
#### 6. **Apply Finish:**
- **Choose a Finish:** Select a finish that enhances the natural beauty of the walnut. Common choices are oil finishes (like Danish oil or tung oil), varnish, or polyurethane.
- **Application:** Apply the finish according to the product instructions. Typically, this involves applying multiple coats with sanding between coats to ensure a smooth and durable finish.
#### 7. **Attach the Legs or Base:**
- **Select Legs/Base:** Choose pre-made table legs or design a custom base. Metal legs are popular for a modern look, while wooden legs can complement a rustic aesthetic.
- **Measure and Mark:** Position the legs or base on the underside of the slab. Ensure they are evenly spaced and the table is level.
- **Attach:** Use screws or bolts to secure the legs to the slab. Ensure all attachments are tight and the table is stable.
#### 8. **Final Touches:**
- **Inspect:** Check the table for any rough spots, uneven finishes, or loose attachments. Sand or tighten as necessary.
- **Polish:** For an extra smooth finish, consider a final polish with a high-grit sandpaper (600 or higher) or steel wool, followed by a buffing with a soft cloth.
### Tips:
- **Safety First:** Always wear appropriate safety gear, especially when using power tools and applying finishes.
- **Patience:** Take your time with each step, especially the sanding and finishing stages, to ensure the best results.
- **Environment:** Work in a well-ventilated area, particularly when applying finishes and working with epoxy resin.
By following these steps, you'll be able to create a stunning walnut live edge slab table that showcases the natural beauty of the wood while providing a functional and unique piece of furniture.


![Anyma & Chris Avantgarde - Eternity [Live from GENESYS London]](https://i.ytimg.com/vi/PSjPJ-Z08yU/maxresdefault.jpg)
![Anyma, Massano, Nathan Nicholson - Angel In The Dark [Live at Sphere Las Vegas]](https://i.ytimg.com/vi/FQrcS0FJ0m0/mqdefault.jpg)
Anyma, Massano, Nathan Nicholson - Angel In The Dark [Live at Sphere Las Vegas]
![Anyma - Pictures Of You [Live from Afterlife Tulum]](https://i.ytimg.com/vi/ZR63_p3xM4Q/maxresdefault.jpg)
![Anyma & Chris Avantgarde - Eternity [Live from Afterlife Tulum]](https://i.ytimg.com/vi/82-5u3H1-yk/maxresdefault.jpg)
![Anyma & Rebūke - Syren [Live from Afterlife Tomorrowland]](https://i.ytimg.com/vi/lIdrRRofKm0/maxresdefault.jpg)


![Come with me if you want to live _ Terminator 2 [Remastered]](https://s3.ap-southeast-2.wasabisys.com/cdn.vidude.com/upload/photos/2025/01/3a2ba8a873c91ecbe15155da5061643f916eec98mlUoRJyKcqgsHC5aOe4H.video_thumb_4625_11.jpeg)
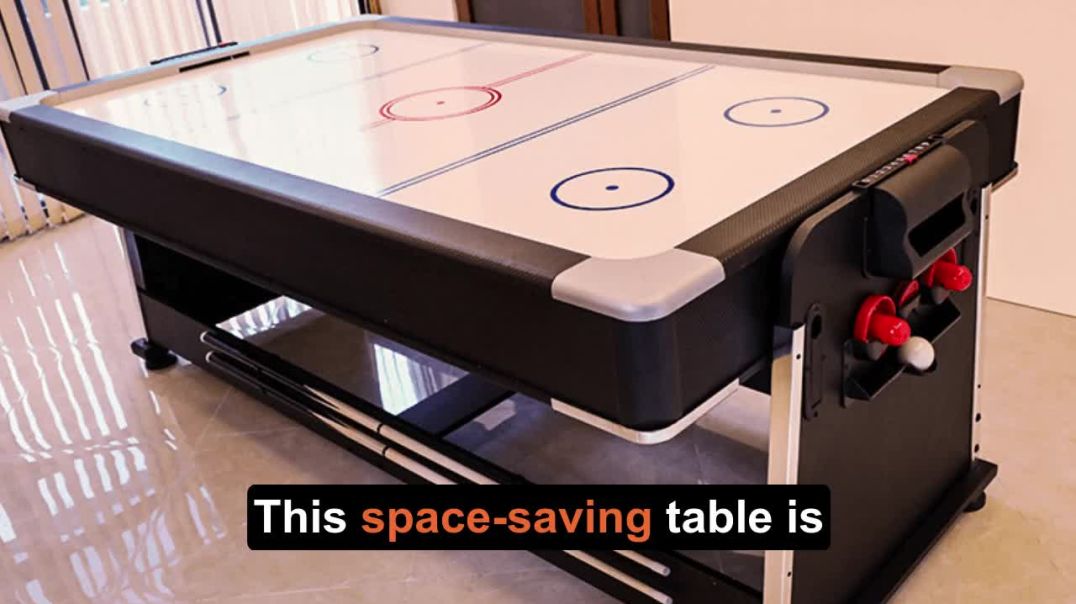
Get Pool Table Air Hockey Combo| Convertible Air Hockey Combo| Oitek Products


Up next
Anyma, Massano, Nathan Nicholson - Angel In The Dark [Live at Sphere Las Vegas]
Get Pool Table Air Hockey Combo| Convertible Air Hockey Combo| Oitek Products
0 Comments