
132 Views· 21 May 2024
Fence by yourself
The Satisfaction of DIY Fencing
Building a fence by yourself can be a rewarding project that not only enhances the privacy and security of your property but also adds to its aesthetic appeal. While it may seem daunting at first, with the right tools, materials, and guidance, you can successfully construct a sturdy and attractive fence. This comprehensive guide will walk you through the process step-by-step.
**1. Planning and Preparation**
**Assess Your Needs**
- Determine the purpose of your fence (privacy, security, decoration, etc.).
- Choose the type of fence that meets your needs (wood, vinyl, chain-link, etc.).
**Check Local Regulations**
- Research local building codes and homeowner association regulations regarding fencing.
- Obtain necessary permits if required.
**Measure and Mark Your Property**
- Use a measuring tape to outline the perimeter where the fence will be installed.
- Mark the positions of the fence posts with stakes and string to ensure a straight line.
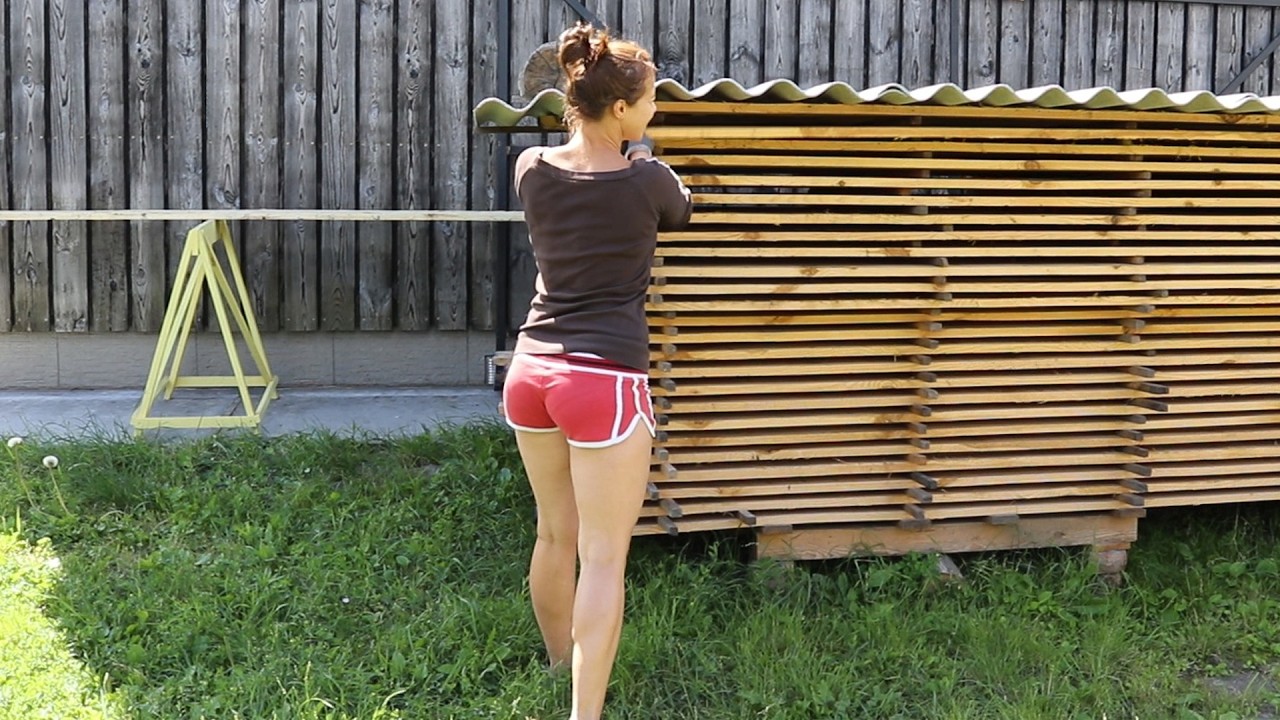
**Gather Materials and Tools**
- Materials: Fence posts, panels or pickets, concrete mix, nails or screws, gravel, and protective coatings.
- Tools: Post hole digger, level, tape measure, saw, hammer or drill, shovel, and safety gear.
**2. Setting the Fence Posts**
**Digging the Post Holes**
- Use a post hole digger to dig holes for the fence posts, typically 6-8 feet apart.
- Make each hole about one-third the length of the post deep and wide enough to accommodate the post and some concrete.
**Installing the Posts**
- Place a few inches of gravel at the bottom of each hole for drainage.
- Position the post in the center of the hole and use a level to ensure it is plumb.
- Fill the hole with concrete mix, ensuring the post remains level.
- Allow the concrete to set according to the manufacturer’s instructions.
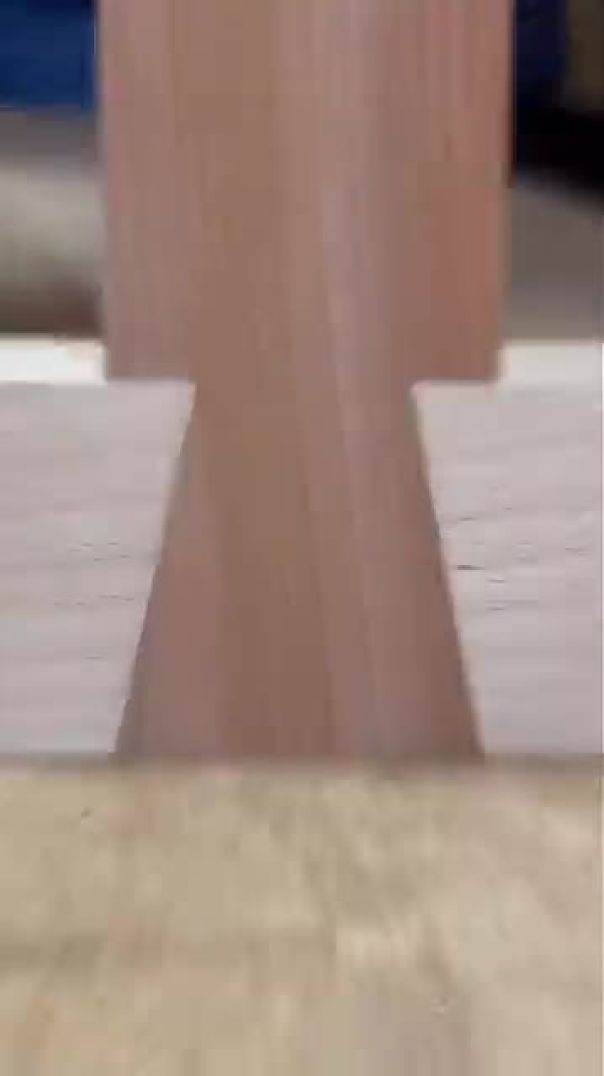
**3. Attaching the Fence Panels or Pickets**
**Preparing the Panels or Pickets**
- Measure and cut the fence panels or pickets to the desired height.
- Apply a protective coating to wooden panels or pickets to prevent rot and weather damage.
**Attaching to Posts**
- Start at one end of the fence line and attach the first panel or picket to the post using nails or screws.
- Use a level to ensure the panel or picket is straight.
- Continue attaching panels or pickets, working your way down the fence line and securing each one to the posts.
**4. Adding Finishing Touches**
**Gate Installation**
- If your fence includes a gate, install it according to the manufacturer’s instructions.
- Ensure the gate is level and swings freely without dragging on the ground.
**Trimming and Sealing**
- Trim the tops of the posts and panels or pickets for a uniform appearance.
- Apply a final coat of protective sealant to wooden fences to prolong their life.
**5. Maintenance Tips**
**Regular Inspections**
- Periodically check the fence for any signs of damage or wear.
- Tighten loose screws or nails and replace any damaged panels or pickets.
**Cleaning**
- Clean the fence regularly to remove dirt, mold, and mildew.
- Use a pressure washer for vinyl or metal fences and a brush and mild detergent for wooden fences.
**Weather Protection**
- Apply a fresh coat of sealant or paint to wooden fences every few years to protect against weather damage.
**Conclusion: Enjoying Your DIY Fence**
Building a fence by yourself is a project that requires careful planning, preparation, and execution. However, with patience and dedication, you can create a fence that meets your needs and enhances your property. Enjoy the satisfaction of having built something with your own hands, and take pride in the increased privacy, security, and beauty your new fence provides.


![[ENG SUB] 免烤巧克力芝士蛋糕食谱(草莓围墙) How to Make No Bake Chocolate Cheesecake (Strawberries Fence)](https://i.ytimg.com/vi/t7uCbgVJrd4/maxresdefault.jpg)


6 Ways to Add a Removable 90º Fence to a Router Edge Guide and Other Jigs...

SMALL Cross-Cut Sled with ADJUSTABLE Fence, EXTENSION wing and BEVEL Feature!

Up next
6 Ways to Add a Removable 90º Fence to a Router Edge Guide and Other Jigs...
0 Comments