
189 Views· 21 May 2024
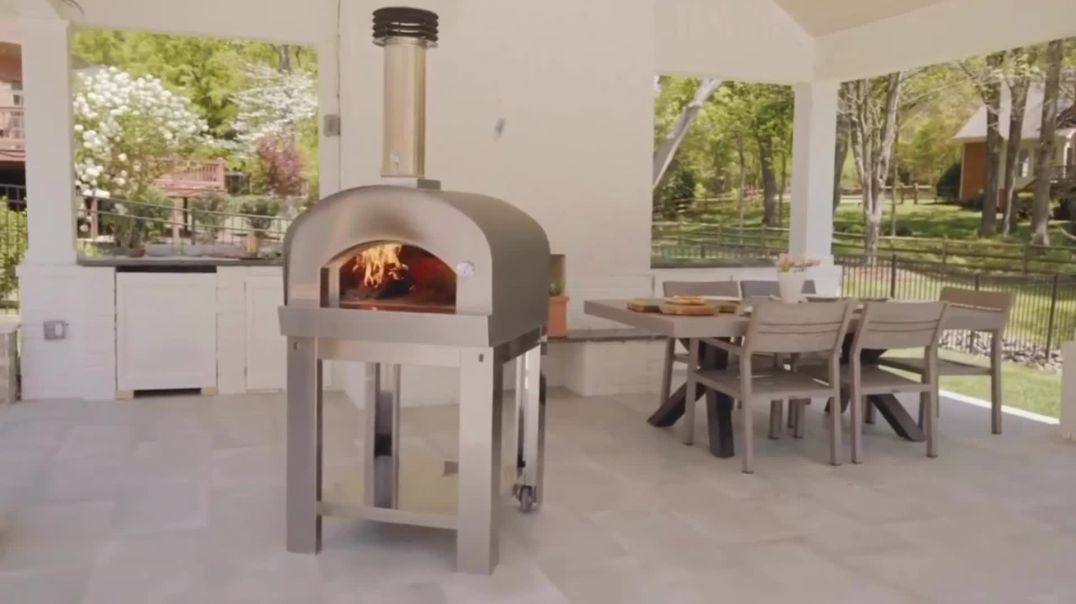
How To Build An Outdoor Pizza Oven
Bring the Pizzeria Experience to Your Backyard
Imagine the aroma of freshly baked pizza wafting through your backyard as you gather with friends and family for a cozy evening. With a homemade outdoor pizza oven, you can turn this dream into reality. In this guide, we'll walk you through the steps to build your very own outdoor pizza oven, allowing you to enjoy delicious, wood-fired pizzas right at home.
**Step 1: Gather Materials and Tools**
**Materials Needed:**
- Fire bricks
- Refractory mortar
- Concrete blocks or bricks (for the base)
- Steel reinforcement mesh
- Oven door (optional)
- Insulating materials (e.g., ceramic fiber blanket)
- Heat-resistant paint (optional)
**Tools Needed:**
- Shovel
- Spirit level
- Trowel
- Masonry saw or angle grinder (for cutting bricks)
- Bucket for mixing mortar
- Brush for applying mortar
**Step 2: Build the Base**
1. **Choose Location:** Select a flat, stable location in your backyard for the pizza oven. Clear the area of any debris and ensure it is level.
2. **Lay Foundation:** Use concrete blocks or bricks to construct a sturdy base for the pizza oven. Ensure the base is level and stable.
3. **Add Reinforcement:** Place steel reinforcement mesh on top of the base to provide additional strength.
4. **Build Support Walls:** Construct walls around the perimeter of the base using concrete blocks or bricks. Leave space for the oven opening.
**Step 3: Construct the Oven Chamber**
1. **Build Oven Walls:** Use fire bricks and refractory mortar to build the walls of the oven chamber. Stack the bricks in a dome shape, leaving an opening for the oven door.
2. **Create Insulation Layer:** Wrap the oven chamber with insulating materials, such as ceramic fiber blanket, to improve heat retention.
3. **Add Oven Door:** Install an oven door at the front opening of the chamber to retain heat during cooking. Alternatively, you can leave the opening uncovered for a more traditional look.
**Step 4: Finish and Decorate**
1. **Apply Mortar:** Use a trowel to apply a layer of refractory mortar to the exterior of the oven chamber. Smooth the mortar for a clean finish.
2. **Decorate Exterior:** If desired, add decorative elements to the exterior of the oven, such as mosaic tiles or heat-resistant paint.
3. **Cure Oven:** Allow the mortar to cure for several days before firing up the oven for the first time. This will ensure it sets properly and withstands high temperatures.
**Step 5: Enjoy Homemade Pizza!**
Once your outdoor pizza oven is complete and cured, it's time to fire it up and start baking! Gather your favorite pizza ingredients, light a fire in the oven, and let it heat up for at least an hour. Then, slide your pizzas onto the hot oven floor using a pizza peel and watch as they cook to perfection in minutes. Experiment with different toppings and crusts to create your own signature pizzas, and enjoy the authentic wood-fired flavor right in your backyard.
**Conclusion: Create Lasting Memories with Homemade Pizza**
Building an outdoor pizza oven is not only a rewarding DIY project but also a wonderful way to bring family and friends together for delicious meals and memorable gatherings. With a little effort and creativity, you can transform your backyard into a cozy pizzeria and enjoy the unbeatable taste of homemade pizza for years to come. Gather your materials, roll up your sleeves, and get ready to embark on a culinary adventure!


The most famous Pizza in the World | The Neapolitan Pizza | Street Food Berlin Germany

Italian bakes Fried Pizza on Bicycle Trailer | Panzerotti | Street Food Berlin Germany

Italian makes Pizza Sandwiches on self-made Trailer | Street Food Berlin Germany


Uzbek Chef prepares meaty Street Food in large Wood Oven | Street Food Berlin Germany

REBUILDING A SALVAGE ROLLS ROYCE IN 12 MINUTES INCREDIBLE CAR BUILD TRANSFORMATION


Qikpac Trespass Jacket - Your Go-To Waterproof Jacket for Outdoor Fun - Universal Textiles

Lifestyle Curtains Your Trusted Expert for Outdoor Blinds in Sutherland Shire

How Did they Build the Suez Canal? 1859 to Today: Extreme Constructions | Documentary


Best Starter Credit Cards For People With No Credit That Will Help Build Credit


How To Blueprint And Build A Small Block Chevy Stroker Engine - Horsepower S17, E5
Up next
The most famous Pizza in the World | The Neapolitan Pizza | Street Food Berlin Germany
Italian bakes Fried Pizza on Bicycle Trailer | Panzerotti | Street Food Berlin Germany
Italian makes Pizza Sandwiches on self-made Trailer | Street Food Berlin Germany
Uzbek Chef prepares meaty Street Food in large Wood Oven | Street Food Berlin Germany
REBUILDING A SALVAGE ROLLS ROYCE IN 12 MINUTES INCREDIBLE CAR BUILD TRANSFORMATION
Qikpac Trespass Jacket - Your Go-To Waterproof Jacket for Outdoor Fun - Universal Textiles
Lifestyle Curtains Your Trusted Expert for Outdoor Blinds in Sutherland Shire
How Did they Build the Suez Canal? 1859 to Today: Extreme Constructions | Documentary
Best Starter Credit Cards For People With No Credit That Will Help Build Credit
0 Comments