
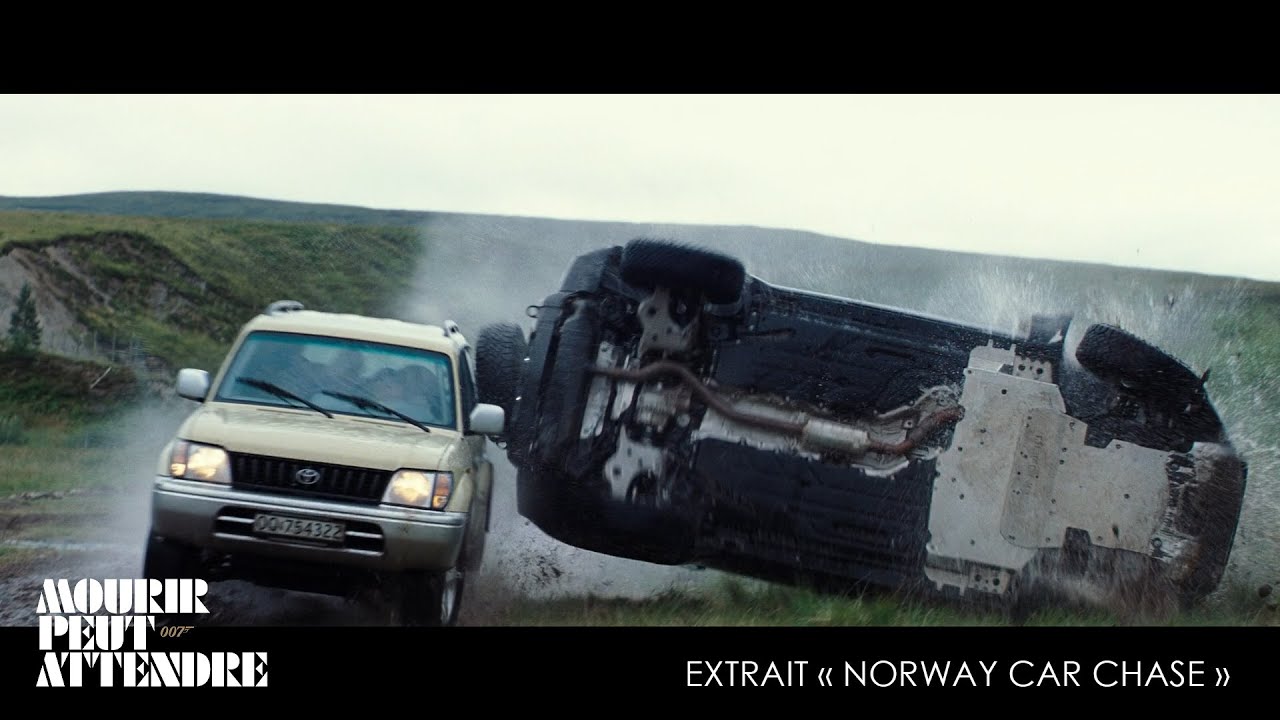
3.3K Views· 30 August 2024
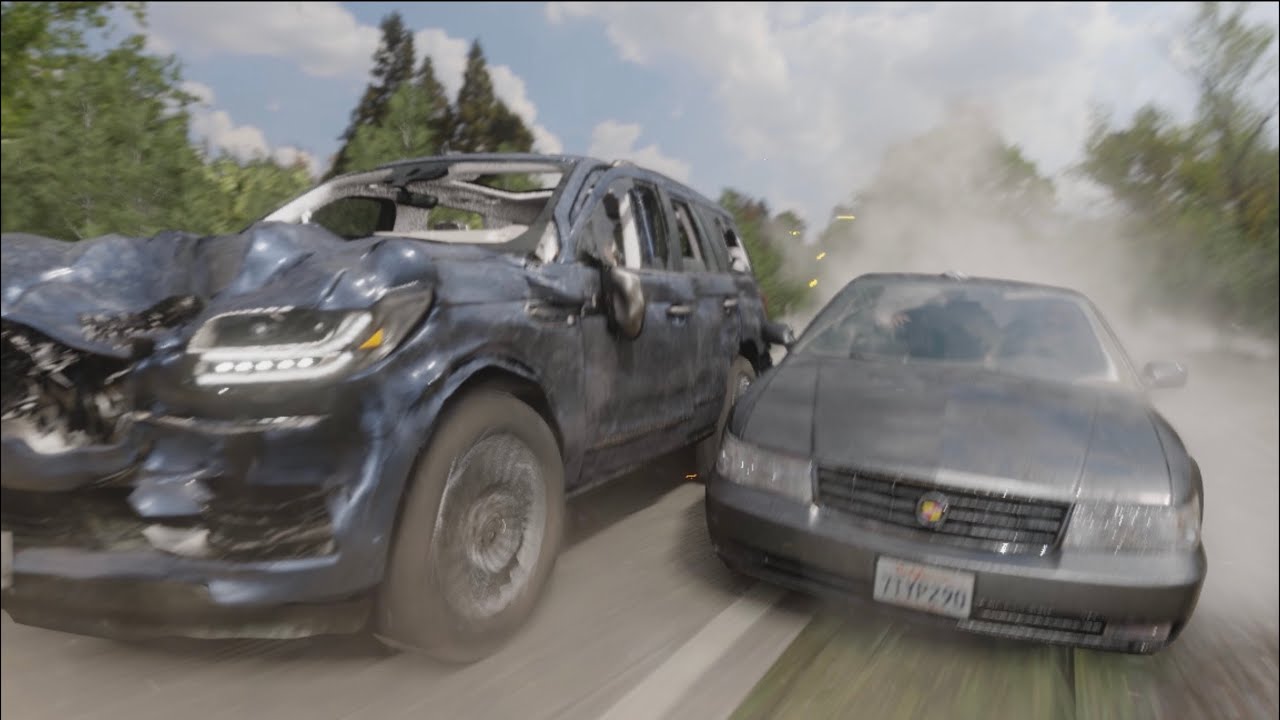
Blender Car Chase Animation

Creating a car chase animation in Blender is an exciting project that allows you to combine realistic vehicle movement, dynamic camera work, and thrilling action sequences. Here’s a step-by-step guide to help you get started:
### 1. **Pre-Production Planning**
- **Storyboard the Scene**: Sketch out key scenes of the chase to visualize the action, camera angles, and timing.
- **Reference Material**: Watch car chase scenes from movies or games for inspiration. Note the pacing, camera angles, and vehicle dynamics.
### 2. **Modeling or Importing Vehicles**
- **Choose or Model Cars**: You can either model your vehicles in Blender or download pre-made models from sites like Sketchfab or TurboSquid. Make sure they are rigged for animation.
- **Detailing**: Add details like headlights, taillights, decals, and other elements to make the cars look realistic.
### 3. **Setting Up the Environment**
- **Create or Import a City/Track**: Build a road, cityscape, or any environment where the chase will take place. You can use Blender’s asset library or import environments from other sources.
- **Texturing and Lighting**: Apply realistic textures to the road, buildings, and cars. Set up lighting to match the time of day in your animation.
### 4. **Vehicle Rigging and Animation**
- **Rig the Cars**: Ensure your cars are rigged for animation. Use Blender’s vehicle rigging tools or plugins like Rigacar to make the wheels turn and the body react to the road surface.
- **Animate the Vehicles**: Use keyframes to animate the cars. Focus on realistic acceleration, braking, turning, and drifting movements. You can also use Blender’s physics engine to simulate more complex movements like skidding or collisions.
### 5. **Camera Work**
- **Dynamic Camera Angles**: Use multiple cameras to capture the action from different angles. Consider using close-ups, wide shots, and chase cams to add excitement.
- **Camera Animation**: Animate the camera to follow the cars, focusing on the speed and intensity of the chase. You can use the Follow Path constraint or manually keyframe the camera’s position and rotation.
### 6. **Adding Effects**
- **Motion Blur**: Enable motion blur to give a sense of speed.
- **Particle Effects**: Add smoke, dust, or debris to the scene to enhance realism, especially during sharp turns or collisions.
- **Lighting Effects**: Consider adding lens flares, headlight beams, and other lighting effects to enhance the atmosphere.
### 7. **Sound Design**
- **Engine Sounds**: Add realistic engine sounds that correspond to the vehicle’s speed and movement.
- **Tire Screeches and Crashes**: Include sound effects for tire screeches, impacts, and other actions.
- **Background Music**: Choose a soundtrack that matches the intensity of the chase.
### 8. **Rendering**
- **Render Settings**: Optimize your render settings for the best balance between quality and performance. Consider using Eevee for faster rendering or Cycles for more realistic results.
- **Render Passes**: Render in passes (e.g., shadows, reflections, ambient occlusion) for more control during post-production.
### 9. **Post-Production**
- **Compositing**: Use Blender’s compositor to combine render passes, add effects, and make color corrections.
- **Editing**: Assemble the final cut in Blender’s Video Sequence Editor or another video editing software. Sync the audio with the animation.
- **Final Touches**: Add any final adjustments like color grading, additional effects, or transitions.
### 10. **Exporting and Sharing**
- **Export**: Render the final animation as a video file.
- **Share**: Upload your animation to platforms like YouTube or Vimeo to share with others.
By following these steps, you can create a thrilling car chase animation in Blender that showcases both your technical skills and creativity.


BEST OF BMW M in 2023! DRIFT FAILS, Burnouts, Police Chase - 1M, M2, M3, M4, M5, M6, M1 Etc!
![Transformers_ Dark of the Moon (2011) - Freeway Chase - Only Action [4K]](https://s3.ap-southeast-2.wasabisys.com/cdn.vidude.com/upload/photos/2025/01/cfda048791b38ace11843164c6070cbd3a65d6fes2PqSkvLAPeP7MTuEGAt.video_thumb_7518_11.jpeg)


Black Panther Chase Scene - Captain America: Civil War (2016) Movie CLIP HD

![Ice Cube - Chase Down The Bully [Audio]](https://i.ytimg.com/vi/GBghLfyFhVY/maxresdefault.jpg)


Alan Walker Sweet Melodie 2023 - Shining And Nikki Animation Music Video Full Set
Jungle Book _ Hindi Kahaniya _ Mega Episode _ Animation Cartoon _ Power Kids PLUS

Mahe Ramzan Special l কানিজ ফাতিমার সাথে কথা l Kaniz Fatima Bangla _ 3D Animation Cartoon


Up next
BEST OF BMW M in 2023! DRIFT FAILS, Burnouts, Police Chase - 1M, M2, M3, M4, M5, M6, M1 Etc!
Black Panther Chase Scene - Captain America: Civil War (2016) Movie CLIP HD
Alan Walker Sweet Melodie 2023 - Shining And Nikki Animation Music Video Full Set
Jungle Book _ Hindi Kahaniya _ Mega Episode _ Animation Cartoon _ Power Kids PLUS
Mahe Ramzan Special l কানিজ ফাতিমার সাথে কথা l Kaniz Fatima Bangla _ 3D Animation Cartoon
0 Comments