
201232 Views· 26 July 2024
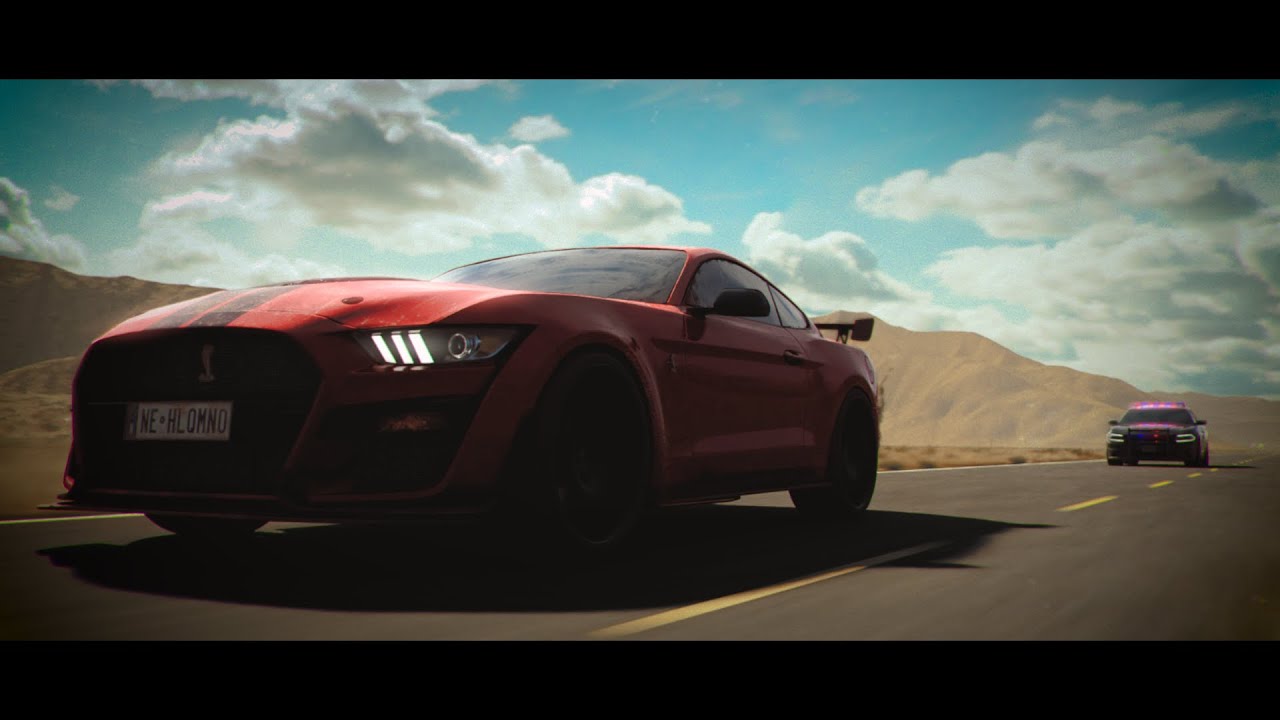
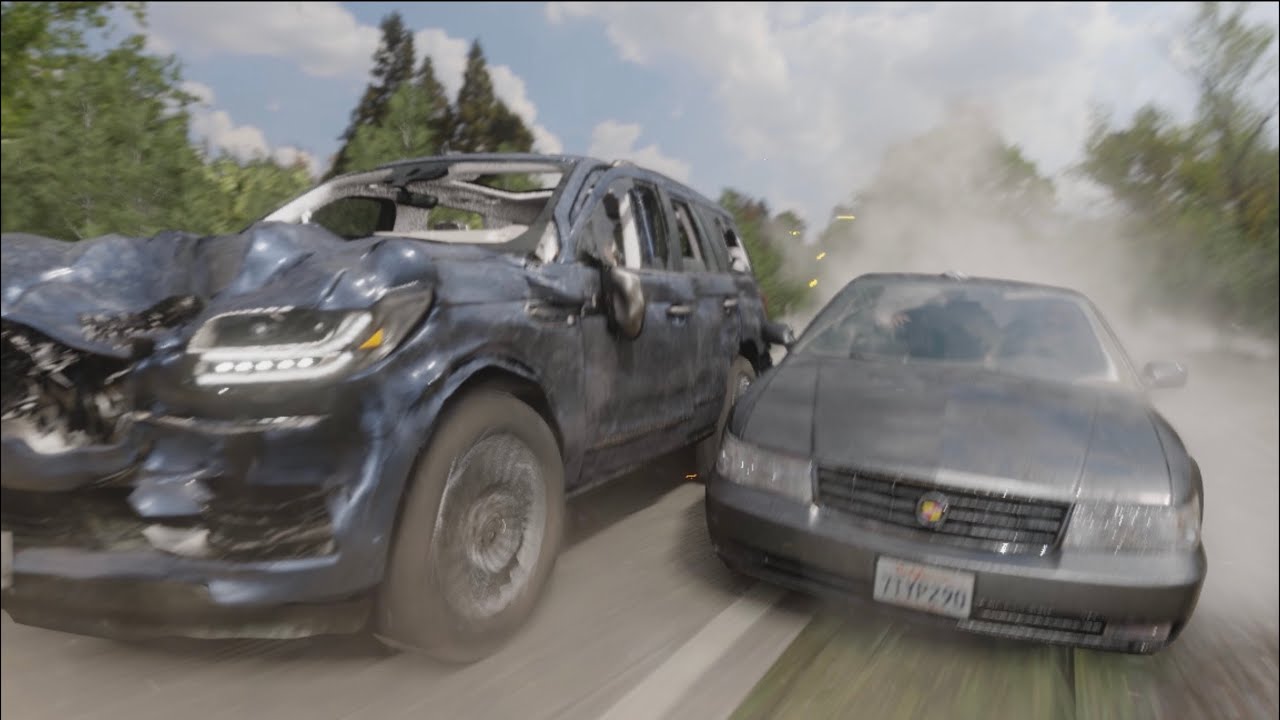
PURSUIT - Blender 3D Car Chase Animation (CGI)

Creating a car chase animation in Blender 3D involves several steps, from modeling the cars and environment to animating the chase sequence and rendering the final output. Here’s a step-by-step guide to help you get started on your CGI car chase project:
### 1. Planning
- **Storyboard**: Sketch a storyboard outlining the key scenes and shots of the chase.
- **Script**: Write a brief script or outline to understand the sequence of events and camera angles.
### 2. Modeling
- **Cars**: Model or download high-quality car models. Ensure they are rigged for animation (wheels, doors, etc.).
- **Environment**: Create or download the environment models, such as city streets, highways, buildings, and any obstacles.
### 3. Texturing and Shading
- **Cars**: Apply realistic textures and shaders to the car models. Use materials for different parts like metal, glass, and rubber.
- **Environment**: Texture the environment with appropriate materials for roads, buildings, and surroundings.
### 4. Rigging
- **Cars**: Ensure the cars are rigged correctly. The wheels should be able to rotate and turn, and the body should have some suspension for realistic movement.
### 5. Animation
- **Car Movement**: Animate the car movements along the path of the chase. Pay attention to acceleration, deceleration, and turns to make the movement realistic.
- **Camera Work**: Use multiple cameras to capture dynamic shots. Employ techniques like follow shots, aerial views, and POV shots.
- **Physics Simulation**: Add physics simulations for car collisions, debris, and any environmental interactions.
### 6. Lighting
- **Day/Night Setting**: Decide on the time of day and set up the lighting accordingly. Use HDRIs for realistic outdoor lighting.
- **Dynamic Lighting**: Add dynamic lights for headlights, streetlights, and other sources.
### 7. Effects
- **Particles**: Use particle systems for smoke, dust, and debris.
- **Dynamics**: Add dynamics for breaking glass, flying debris, and tire skids.
### 8. Rendering
- **Render Settings**: Set up your render settings, choosing the appropriate render engine (Cycles for realism, Eevee for speed).
- **Render Layers**: Use render layers and passes to separate elements for easier compositing.
### 9. Compositing
- **Post-Processing**: Composite the rendered frames in Blender’s compositor or another software like After Effects. Add effects like motion blur, color correction, and lens flares.
- **Sound**: Add sound effects for engines, crashes, and ambient noise. Incorporate background music for added intensity.
### 10. Final Touches
- **Editing**: Edit the sequence in a video editing software to refine the timing and pacing.
- **Review**: Watch the animation multiple times to catch any errors or areas that need improvement.
### Resources
- **Tutorials**: Look for specific Blender tutorials on YouTube or Blender-related websites for detailed guidance on each step.
- **Models**: Websites like TurboSquid, Sketchfab, and Blender Market offer high-quality car models.
- **Textures**: Use resources like Poliigon, Textures.com, and Substance Source for realistic textures.
Creating a car chase animation is a complex but rewarding project that can showcase your skills in 3D modeling, animation, and visual effects.


BEST OF BMW M in 2023! DRIFT FAILS, Burnouts, Police Chase - 1M, M2, M3, M4, M5, M6, M1 Etc!
![Transformers_ Dark of the Moon (2011) - Freeway Chase - Only Action [4K]](https://s3.ap-southeast-2.wasabisys.com/cdn.vidude.com/upload/photos/2025/01/cfda048791b38ace11843164c6070cbd3a65d6fes2PqSkvLAPeP7MTuEGAt.video_thumb_7518_11.jpeg)


Black Panther Chase Scene - Captain America: Civil War (2016) Movie CLIP HD

![Ice Cube - Chase Down The Bully [Audio]](https://i.ytimg.com/vi/GBghLfyFhVY/maxresdefault.jpg)


Alan Walker Sweet Melodie 2023 - Shining And Nikki Animation Music Video Full Set
Jungle Book _ Hindi Kahaniya _ Mega Episode _ Animation Cartoon _ Power Kids PLUS

Mahe Ramzan Special l কানিজ ফাতিমার সাথে কথা l Kaniz Fatima Bangla _ 3D Animation Cartoon


Up next
BEST OF BMW M in 2023! DRIFT FAILS, Burnouts, Police Chase - 1M, M2, M3, M4, M5, M6, M1 Etc!
Black Panther Chase Scene - Captain America: Civil War (2016) Movie CLIP HD
Alan Walker Sweet Melodie 2023 - Shining And Nikki Animation Music Video Full Set
Jungle Book _ Hindi Kahaniya _ Mega Episode _ Animation Cartoon _ Power Kids PLUS
Mahe Ramzan Special l কানিজ ফাতিমার সাথে কথা l Kaniz Fatima Bangla _ 3D Animation Cartoon
1 Comments
Profixx
5 days ago